Ulanzi Smart Pixel Clock + AWTRIX Light + HomeAssistant
Preface
Having sensors and taking measurements with HomeAssistant is quite fun, but evertime you want to check that data you have to open a webbrowser or the app. Using a device like the Ulanzi TC001 Smart Pixel Clock allows it to display data collected by HomeAssistant after a few simple steps.
Flashing Ulanzi Pixel clock TC001 with AWTRIX Light
The first step is to flash the Ulanzi Pixel Clock with AWTRIX Light. It's a custom firmware with the purpose of easy integration into smarthome setups like HomeAssistant, IOBroker, NodeRed and much more.
To flash the clock connect it via USB3 to your computer and open the Online Flasher in Google Chrome or Microsoft Edge Browser. Click on "Connect", select the USB3 port to wich the clock is connected and follow the steps (ensure that you check "Erase device" if your flash it for the first time).
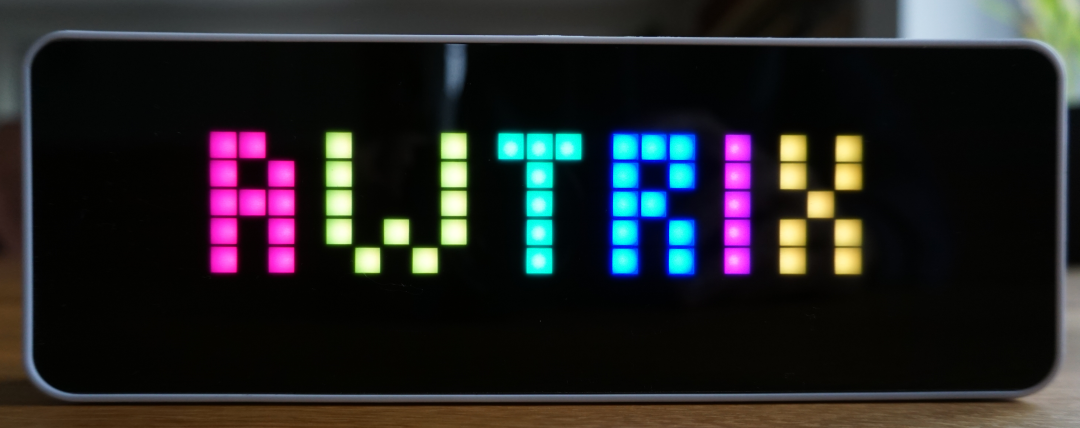
If everything works well AWTRIX will be flashed to the clock and the AWTRIX lettering will appear on the display. If it's like that follow the Quickstart Guide and connect your clock to WiFi.
When I tried to flash my clock I got the following error "Failed to initialize" multiple times.
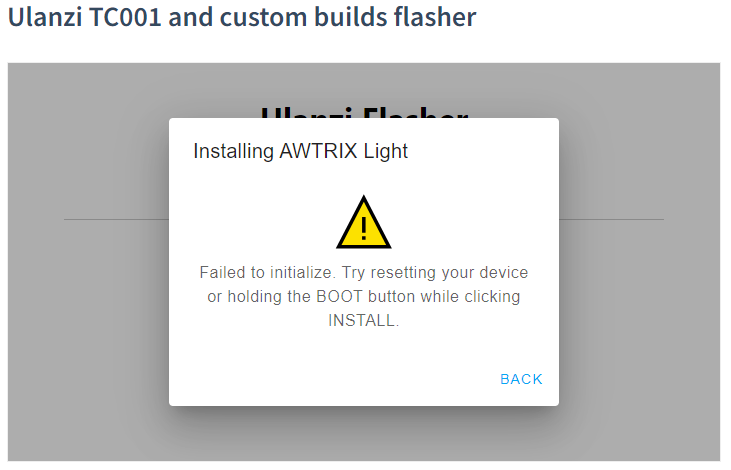
Luckily I wasn't the only one having this problem and few minutes of searching brought me to issue #341. To solve the problem the following steps are necessarry.
- Bring your unflashed Ulanzi Pixel Clock into your Wifi, by connecting your smartphone to the Wifi emitted by the clock and complete Wifi setup
- The clock should now display an IP address to which you should open in a webbrowser
- Dowload the latest firmware release
ulanzi_TC001_x.xx.binof AWTRIX - Open "About" on the bottom of the page and select "Update firmware"
- Select the downloaded firmware from your filesystem and wait for the clock to be flashed
Afterwards your clock should have the AWTRIX firmware installed.
Connecting the clock to HomeAssistant
Communication between HomeAssistant and the Ulanzi clock takes place via MQTT. In order to enable HomeAssistant to communicate with Ulanzi the MQTT integration and a broker like Mosquitto are necessarry.
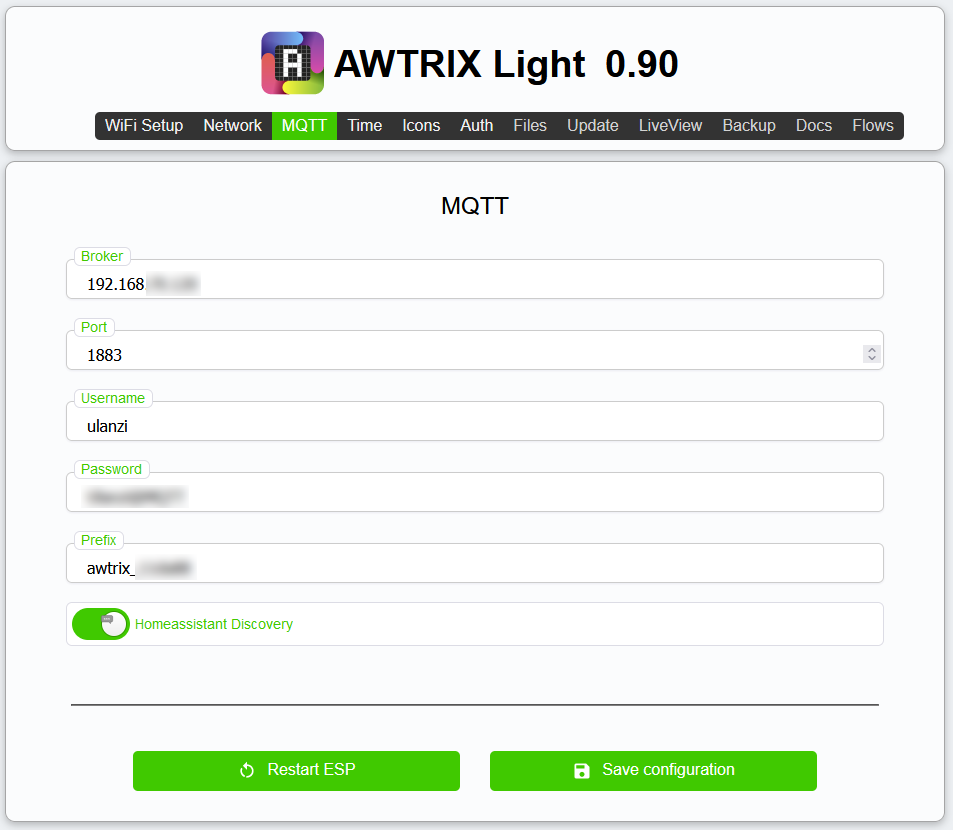
After setting up MQTT according to the documentation open a browser, enter the IP address for your Ulanzi clock (should be shown after restarting the clock) and navigate to MQTT. Enter the IP address of you HomeAssistant installation and the user created during setup process of the MQTT integration. Enable the "HomeAssistant Discovery" toggle, save your configuration and click on "Restart ESP".
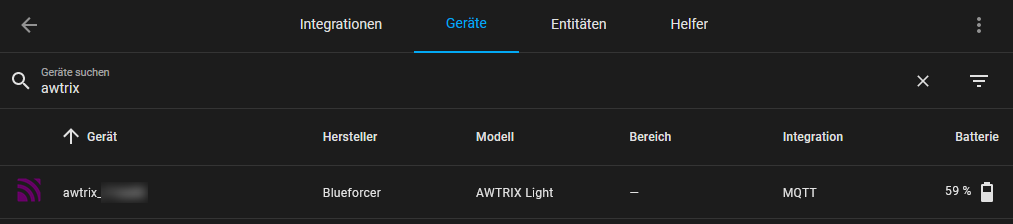
After restarting the navigate to "Settings → Devices & Services → Devices" and search for the prefix you defined in the configuration before. The clock should now be visible in HomeAssistant.
In order to prevent unauthorized access to you Ulanzi web interface I recommend enabling authentication by specifying a username and a password via the "Auth" tab in the AWTRIX UI.
Sending MQTT messages to Ulanzi clock
To test the display of messages on the Ulanzi pixel clock you can create a simple automation in HomeAssitstant under "Settings → Automations & Scenes". Click on "Create Automation" select "Edit as YAML" and paste the following configuration. Change awtrix_XXXXXX to your own device id and download the icon to display first via the "Icons" tab in web UI of your Ulanzi clock.
alias: Ulanzi Test-Notification
trigger:
- platform: event
event_type: ''
action:
- service: mqtt.publish
data:
qos: '0'
topic: awtrix_XXXXXX/notify
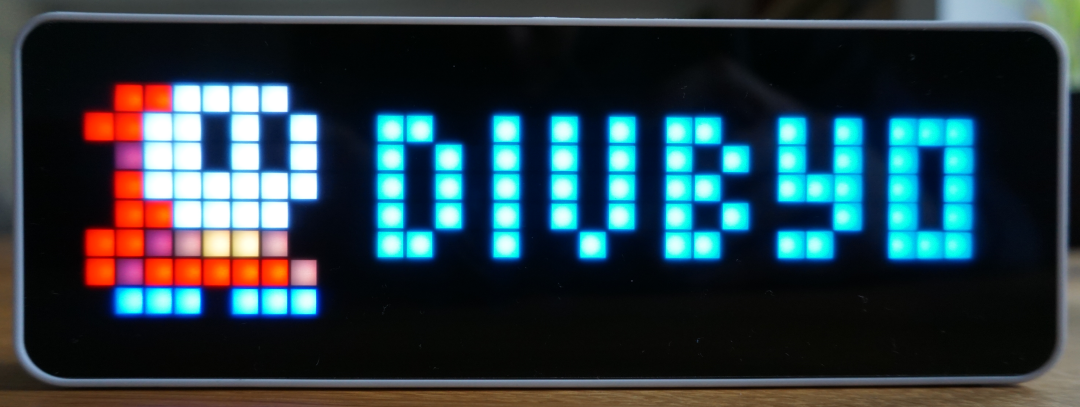
payload: '{text: "divby0", "color": "#06b6d4", "duration": 10, "icon": 1775}'
mode: single
Trigger the automation and the clock should display your notification. Congratulations you've finished the setup!
This is a pretty simple example on how to send messages to the clock. In order to integrate the clock seamlessly into your smarthome and build powerful automations have a look at the AWTRIX Light API.
Icons can be retrieved from LaMetric Developer and preconfigured flows as well as blueprints from AWTRIX Flows.
Conclusion
Flashing the Ulanzi TC001 smart pixel clock with AWTRIX and integrate it into HomeAssistant is pretty simple du to the excellent documentaion. The next steps will be selecting and transmitting the HomeAssistant data to the clock. I'm not sure yet if I want to keep the clock running 24/7 or if I want a daily summary at a specific point in time using the power-control topic, but I'm sure to post about it here 😉.